This is where notes on assembly of other kits from Dream Pod 9 will be added. Think of it like an FAQ for model assembly: This is more helpful notes and advice for specific models.
As some of these have plastic, 3d printed, or other versions I am noting entries with the material or method used.
We’re not the Model Police
These are, importantly, suggestions. The original art for the Heavy Gear setting wasn’t always consistent and the setting presumes long histories for Gear designs. It is a setting where things are sometimes assembled by engineers in the field who have to improvise with limited support.
Your models are your models and you should always feel free to convert and do what you wish with them.
Guide Updates
Update History
- 2024-09-16: Original Release: Initial notes scribbled down and uploaded to tools.dp9.com.
- 2025-12-31: Content migrated to dp9community.com.
- 2026-07-24: Reformatted again for new theme.
- 2026-08-07: Magnets do work and I don’t find jokes about them funny. In other news, added some notes on kits designed for magnetization.
- 2026-08-13: Sampson details.
Miniatures History
This page is focused on currently available or at least recently available miniatures. The history of the Heavy Gear miniatures line has had a surprisingly complex hsitory.
RAFM Miniatures
Miniatures were released in the 1990s by RAFM. These are in a larger scale (1/87 versus today’s 1/144) and are fully metal models. More information on these can be found at the Lost Miniatures website.
Tactical and Blitz Miniatures
Early Dream Pod 9 produced miniatures for Heavy Gear are usually referred to as ‘Tactical’ era miniatures. They use a similar scale as today’s miniatures, but notable have slightly different scaling of details and similar. One distinctive feature is the much thinner hand-held weapons. These models were re-sculpted to create more distinctive kits. Scale was slightly exaggerated to make the ‘scout’ and ‘fire support’ Gears stand out in height from the middle-height Hunters and similar. Additionally the Tactical era initially assumed hex-map play so most models were scaled with that in mind: For example, the initial release of the CEF Hovertanks was a small tank model, similar in size to the current LHT-67/LHT-71, designed to be able to fit on a hex-based flight stand and only slightly overhang the hex base. This was converted to modern pairs of LHT-67/MHT-68 and LHT-71/MHT-72 to allow players to continue using the smaller miniatures for a lighter class of hovertanks. The LHT models were later improved with new sculpts to add details.
The below notes will focus on the currently available or recent releases.
North
Metal Dingo and Koala
The metal kits for the Dingo and Koala include a small sprue for each model that has the head, HMG elements, and a few other small pieces. One small element is a rounded piece with some detail on it: After asking on the Heavy Gear:Blitz Discord, this is a parachute and the default location is attached to the V-Engine.
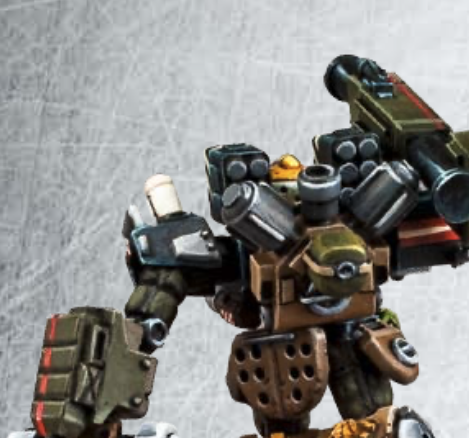
Rear view of Koala miniature from [Operation: Drop Bears Dive!](https://www.drivethrurpg.com/en/product/79131/operation-drop-bears-dive&affiliate_id=4310)
To my understanding the Dingo, along with the Mad Dog it is based off of, should be modeled with the V-Engine mounted upside down.
Metal Bear / Den Mother/ Mad Dog R
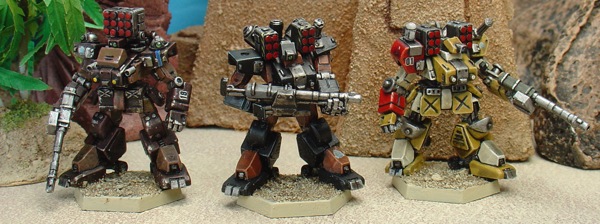
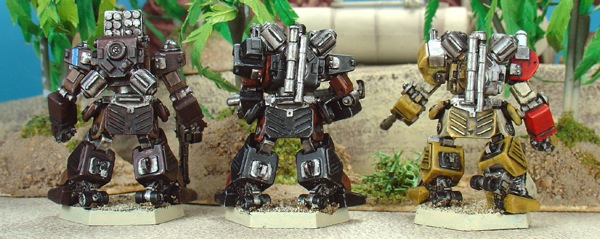
These models have recently been replaced by 3d-printed versions, but the older models are still available. This is taken from the page on the main dp9 website. The Den Mother is now an upgrade for the basic Bear design: Feel free to have fun with the various parts if you want. Note that the Mad Dog and Bear use the same engine, but on the Mad Dog it should have the central exhaust removed and is mounted upside down.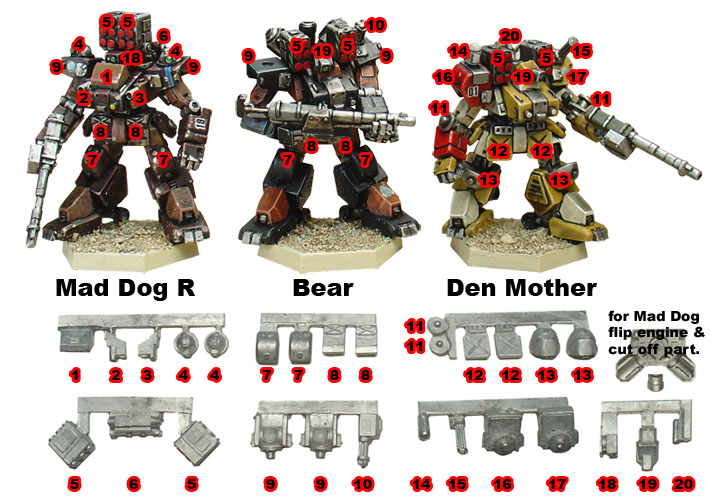
South
Naga (3d Printed)
The new 3d printed Naga kit is designed for magnetization of the shoulder weapon pods.. The recommended magnets are 2mm diameter, 1mm deep. The chin gun can be magnetized, but will require additional effort.
Peace River
NuCoal
Sampson (Cast Pewter with metal components)
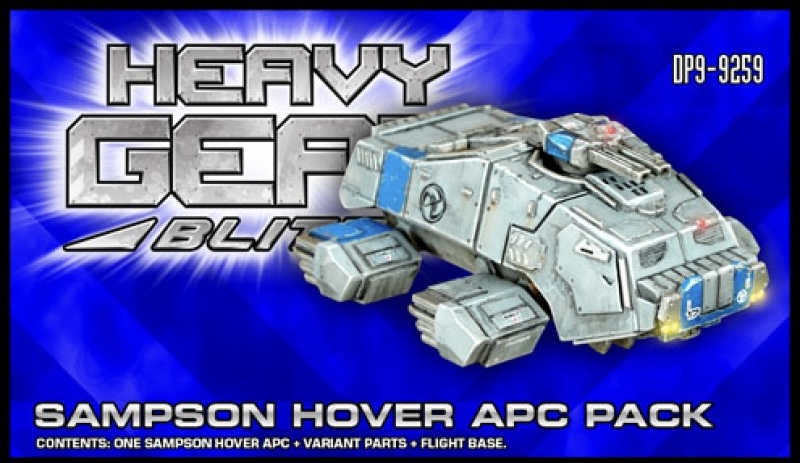
The Sampson is a mixed kit with a cast resin main hull and metal components.
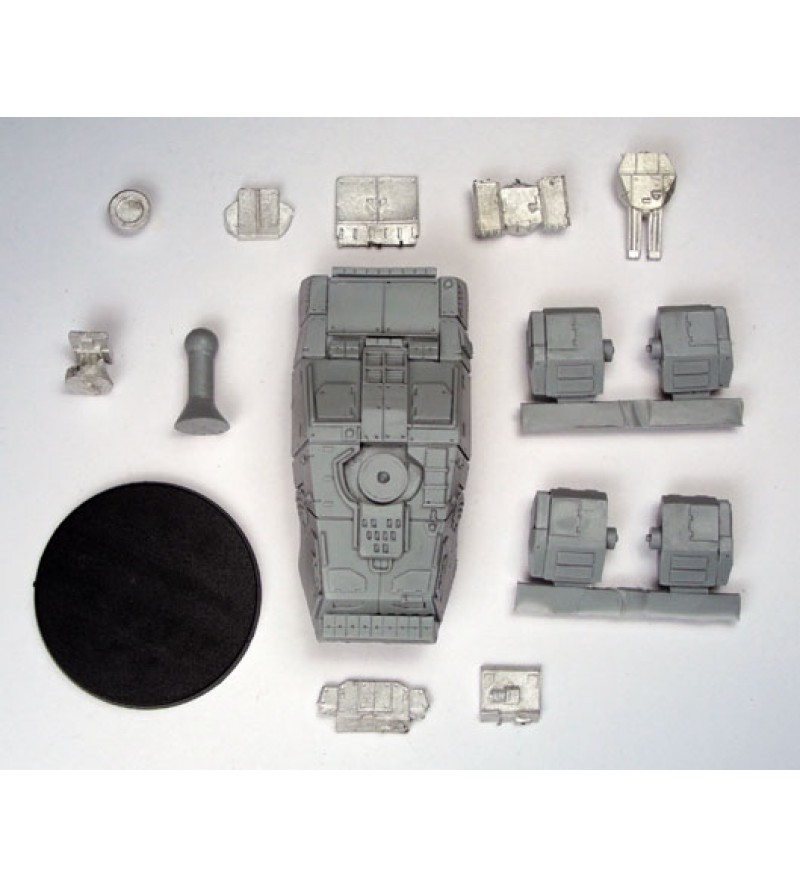
First Row
- CV Upgrade Sat Uplink
- Turret “Blank” Plate (Medical variant)
- Rear Ramp
- Turret LRP
- Turret linked LAC
Second and Third Rows
- Turret LATM
- Flight Base
- Main Hull
- Thrusters
- Base
Bottom Row
- Front Bumper/Guard
- Lower Hull Detail
The turrets can be swapped easily and will stay in place via gravity. The Satellite Uplink is generally glued on the rear corner of the main hull and does not have a molded attachment point on the model.
The lower Hull detail attaches to the bottom of the main hull.
Leagueless
Black Talons
Karakara Gear Strider Magnetization
This is a big 3d printed kit with a lot of parts and is designed to be magnetized if owners are interested. The recommended magnets are 2mm diameter, 1mm deep.
Dark Naga (3d Printed)
Like the Karakara, this kit is designed of magnetization for the shoulder weapon pods. The recommended magnets are 2mm diameter, 1mm deep. The chin gun can be magnetized, but will require additional effort.
CEF
Caprice
General Note On Caprice Plastics
The Caprice plastics are great quality, with the biggest issue being that tolerances may be a bit over-tight in places. It is recommended to test-fit all connections and don’t hesitate to careful shave away a tiny amount of plastic if necessary. This includes the “tail” pieces of the Aphek or Meggido body assembly. (Pieces 1 and 2 on the “Mount A parts Sprue”)