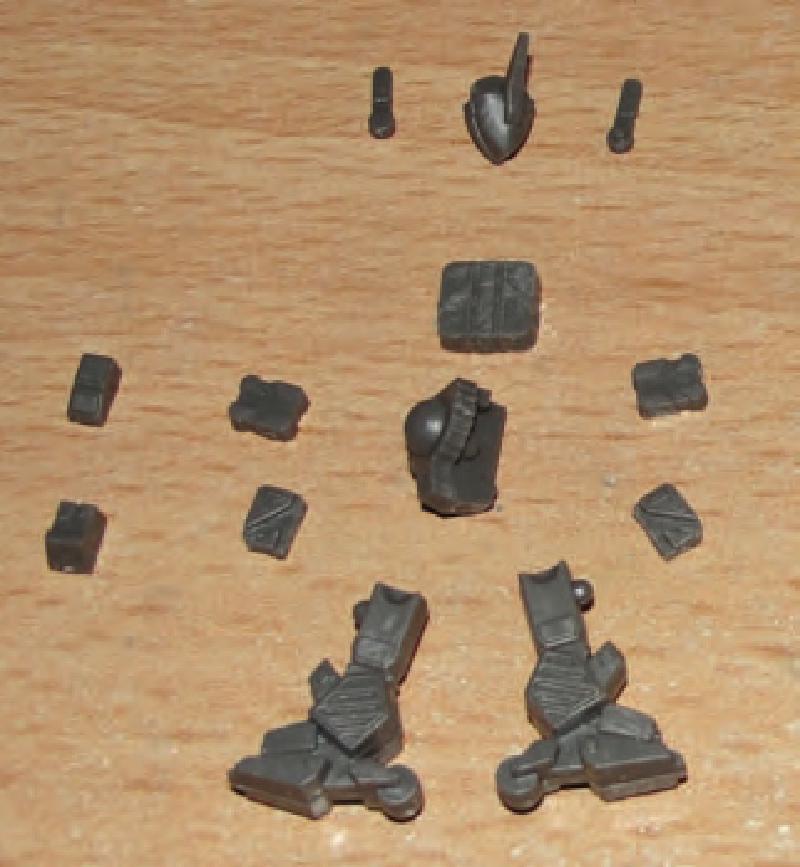
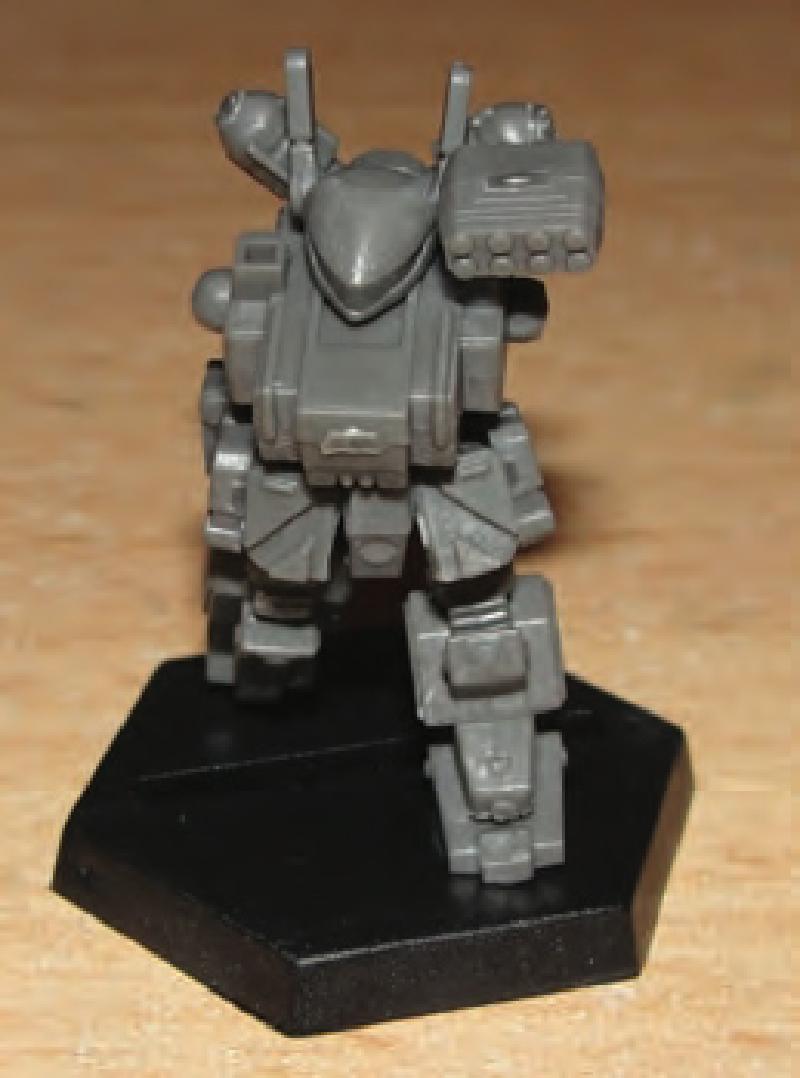
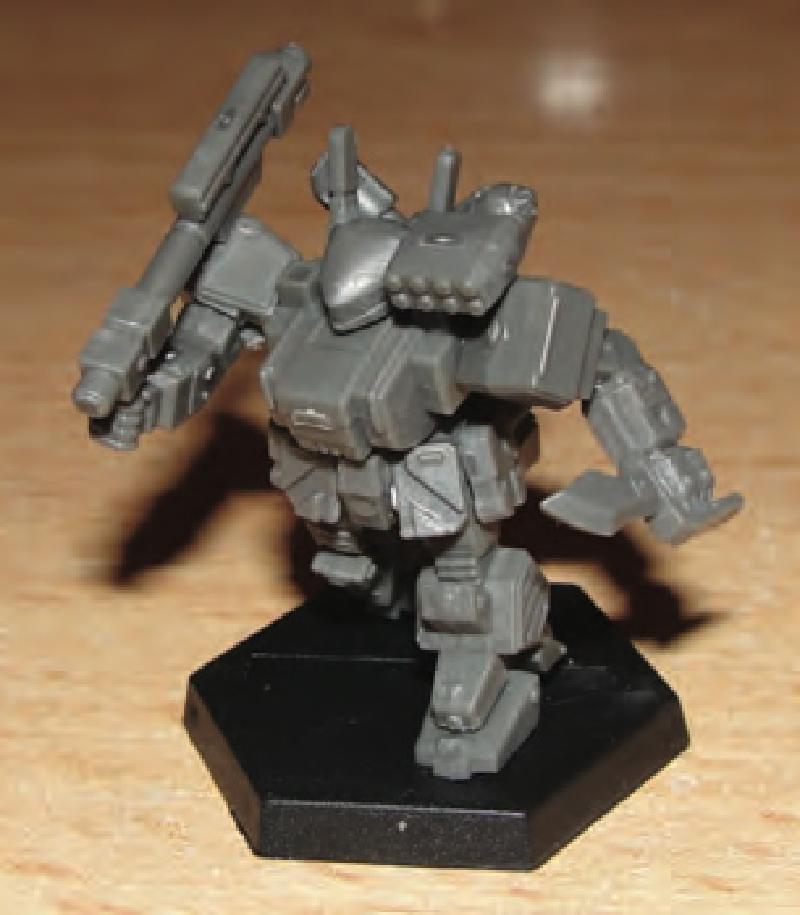
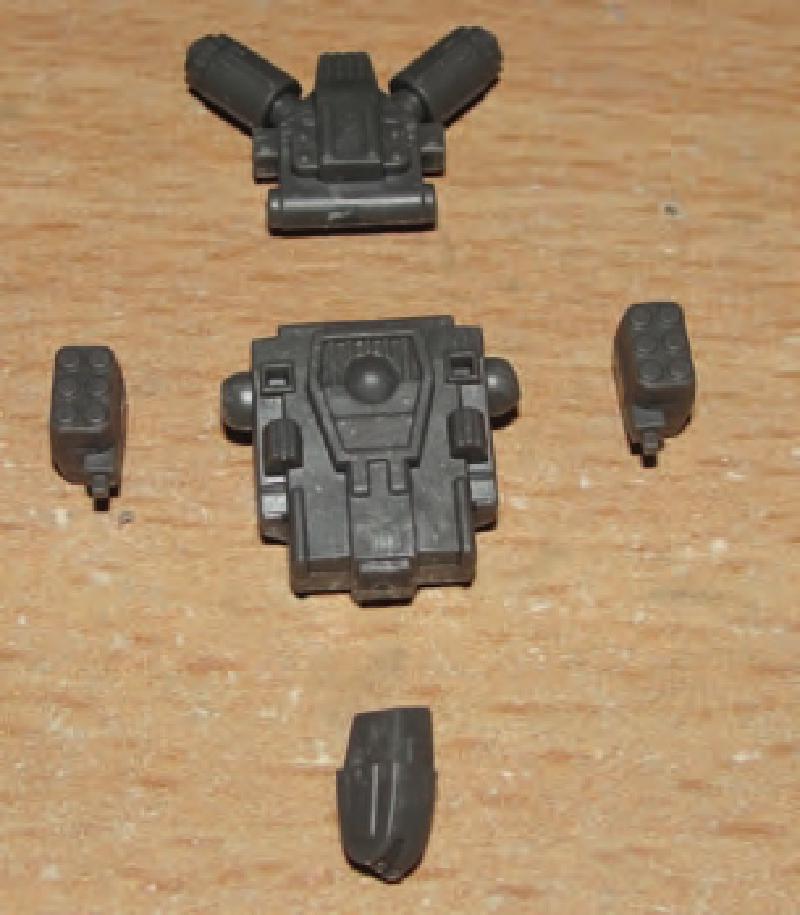
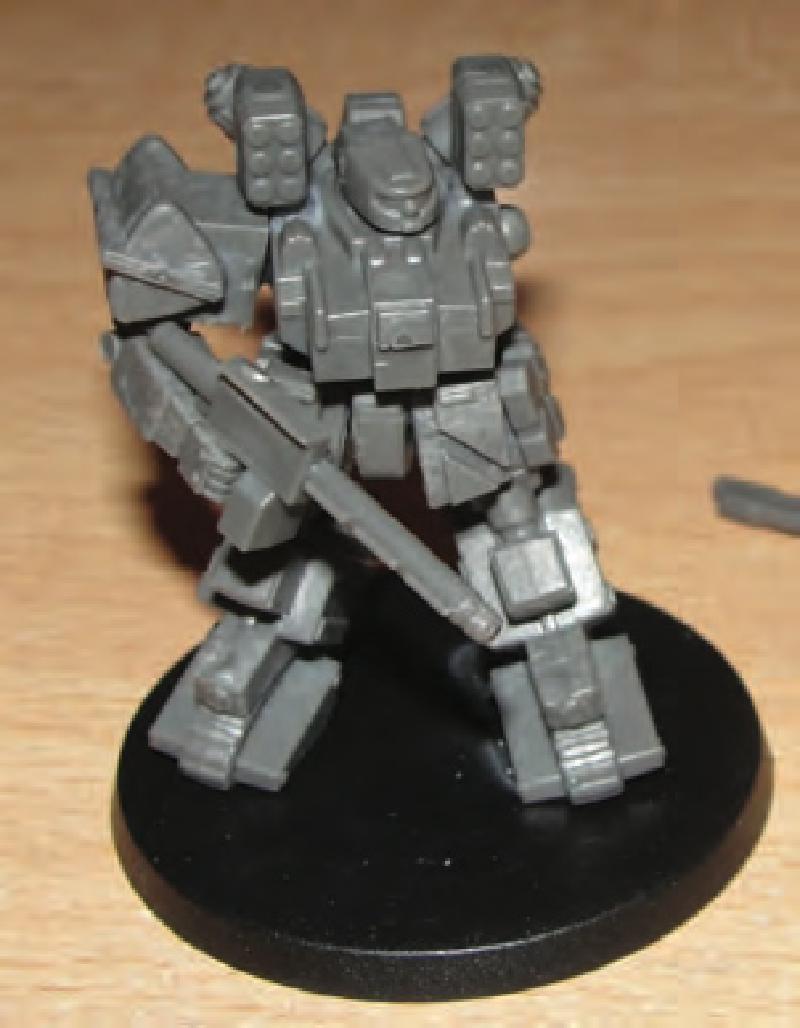
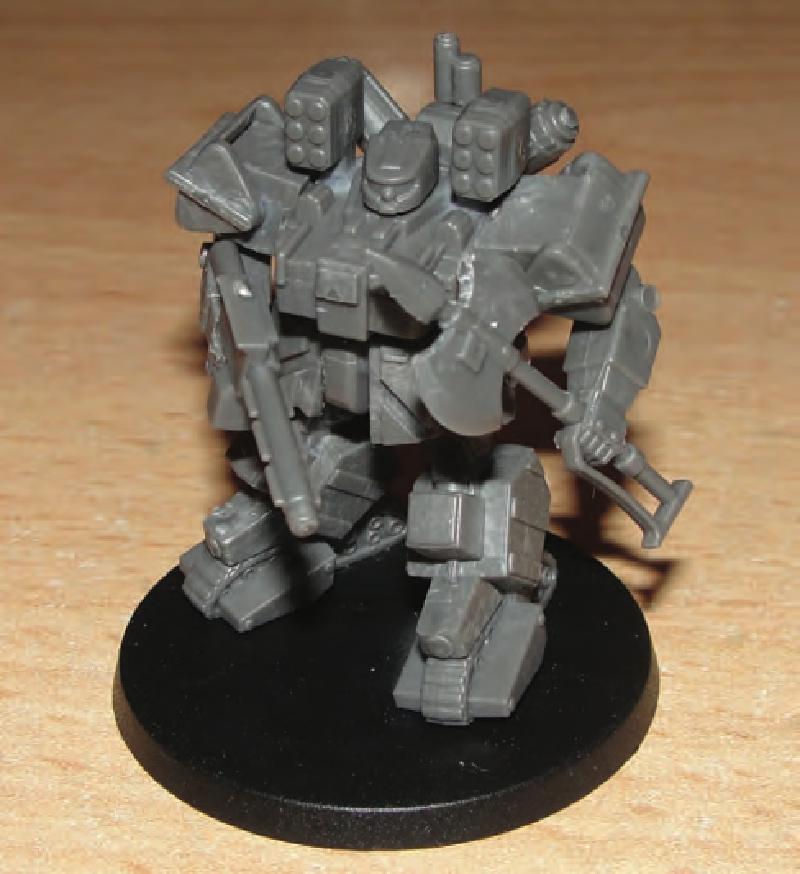
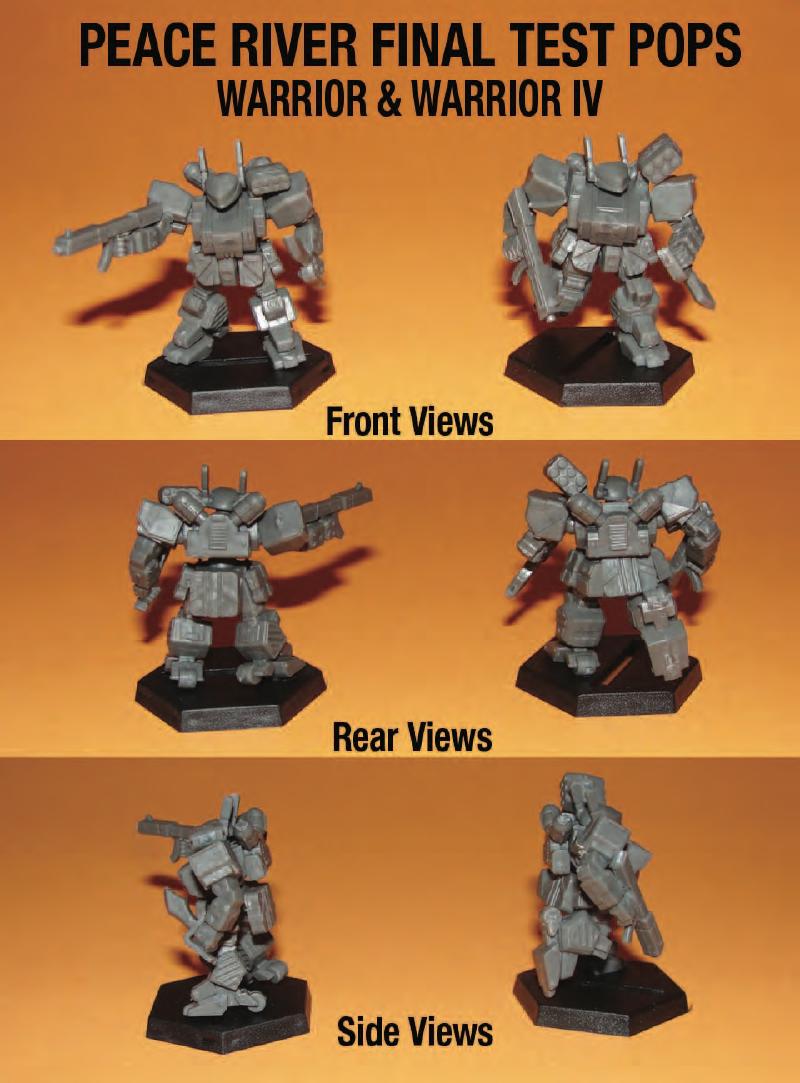
Warrior Mount Parts Sprue#

- Hip Side Armor Plates (x2)
- V-Engine
- Head Antennas
- Command Head
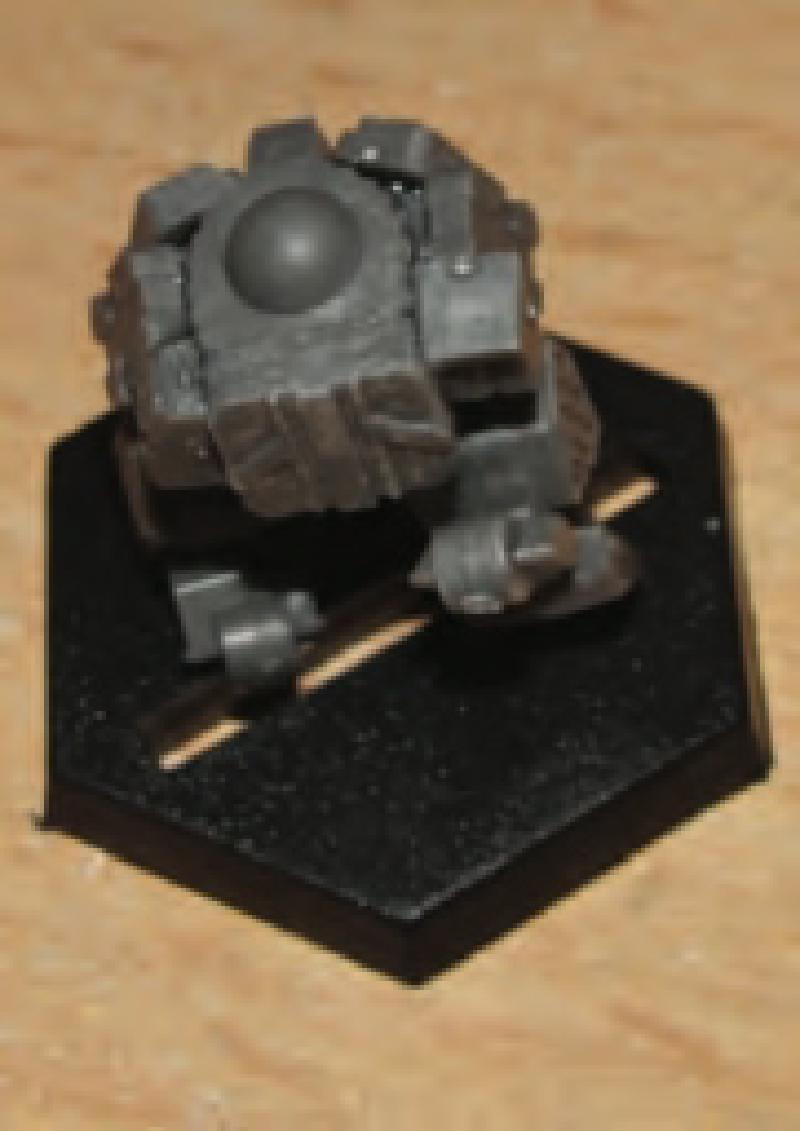
- Head
- Butt Plate
- Hips
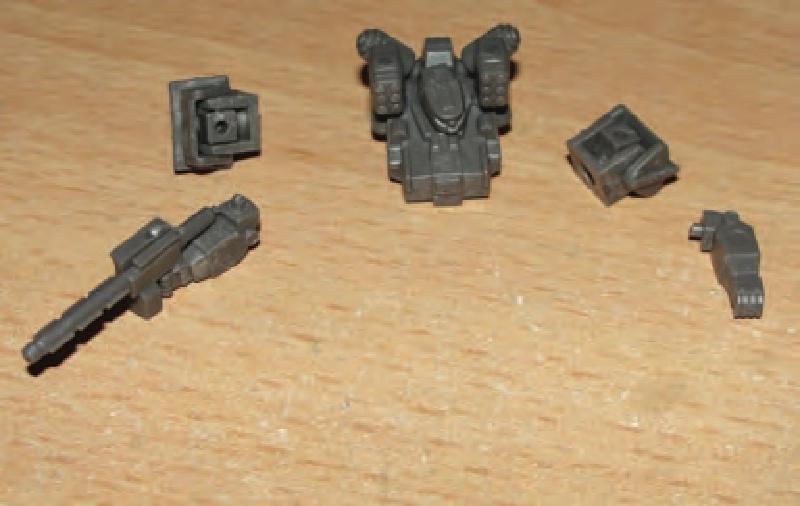
- Torso
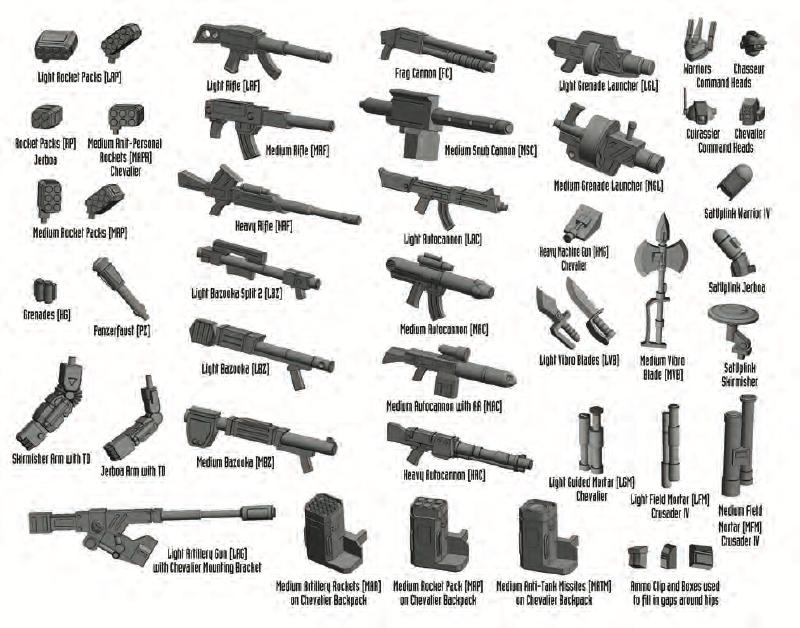
- LVB
- LRP
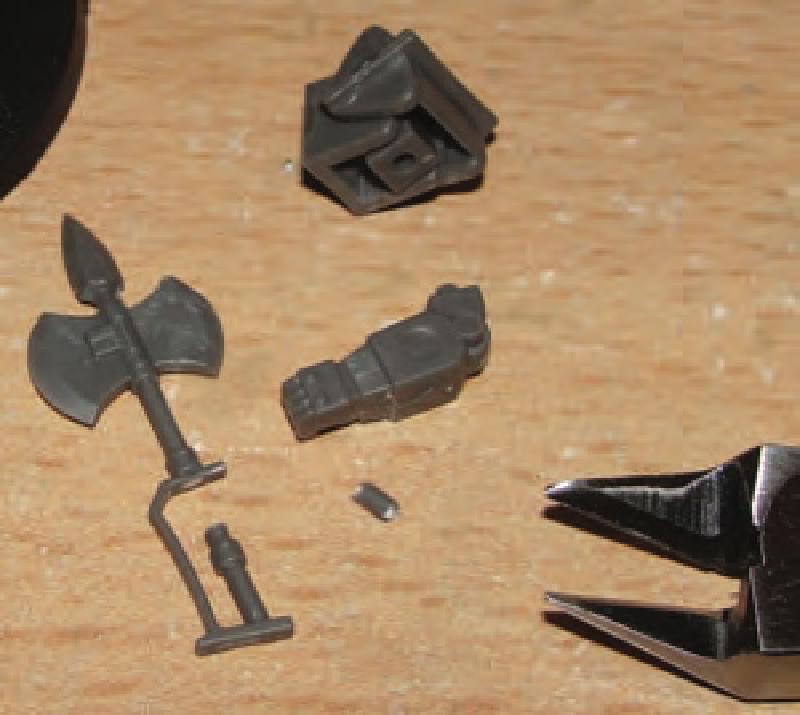
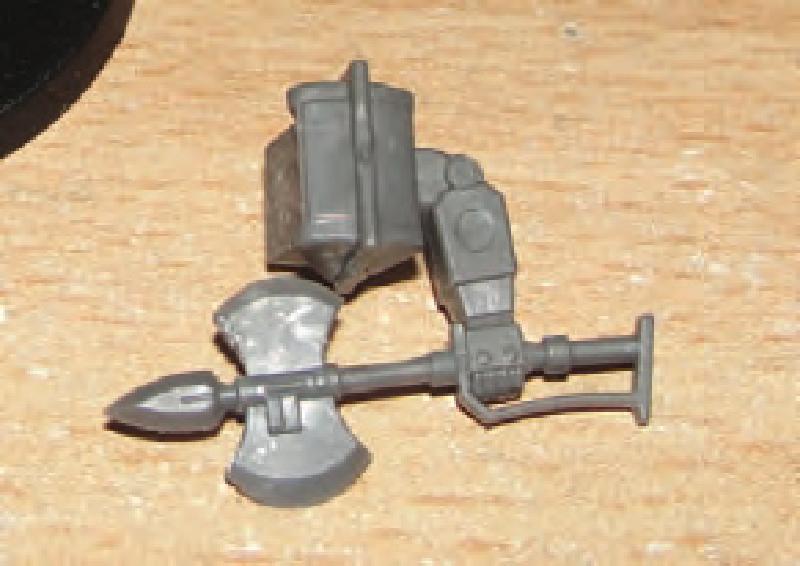
- Grenades
- LBZ (AP.1, Burst.1, Split.2)
- MFC
- LAC
- MAC
- Left Lower Arm with Elbow Angle A
- Right Lower Arm with Elbow Angle A
- Shoulders (x2)
- Right Lower Arm with Elbow Angle B
- Left Lower Arm with Elbow Angle B
- Small Box (can be used to fill in gaps around hips)
- Large Box (can be used to fill in gaps around hips)
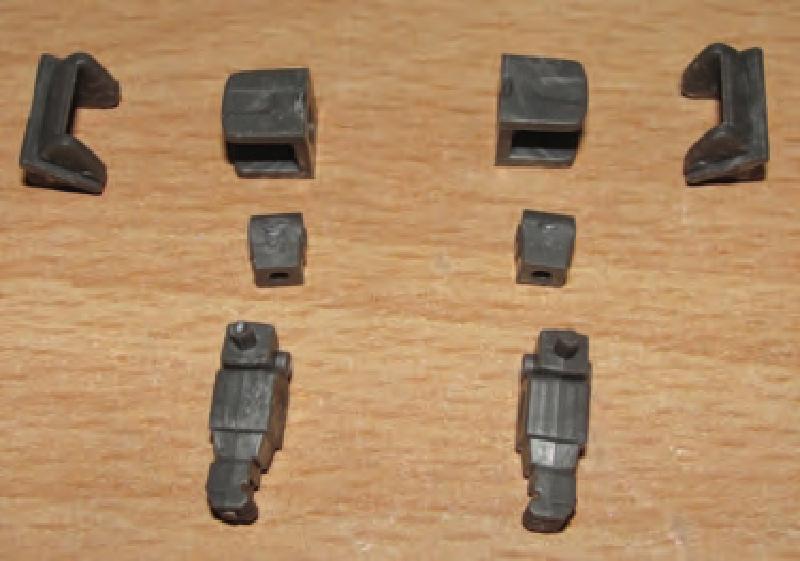
- Hip Front/Right Armor Plate
- Hip Front/Left Armor Plate
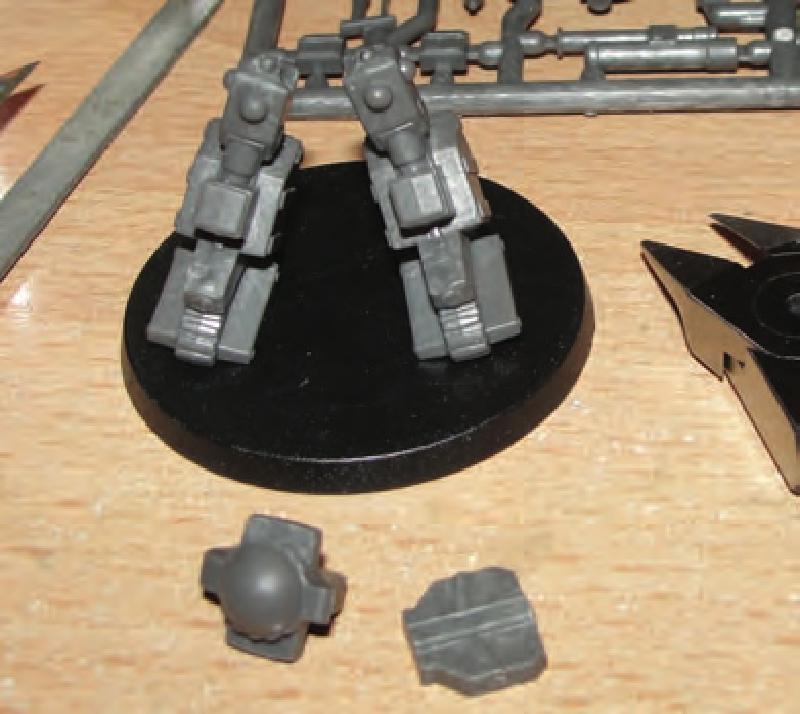
- Right Leg
- Left Leg
- Ammo Clip (can be used to fill in gaps around hips)
- Right Running Leg
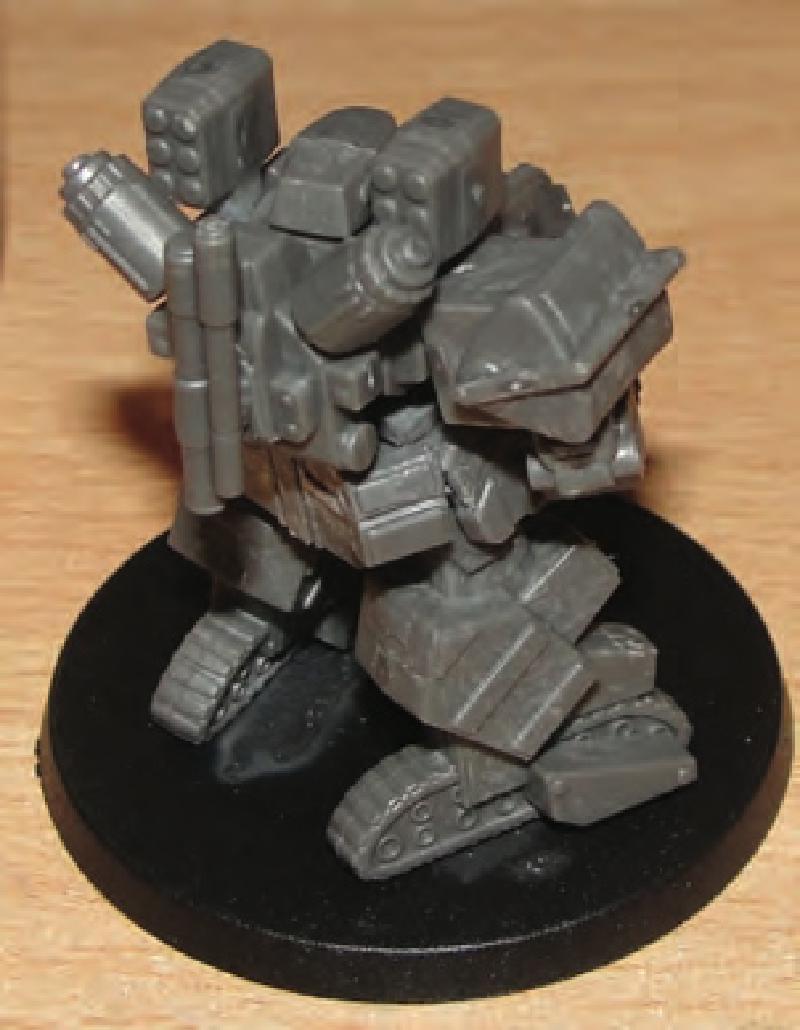
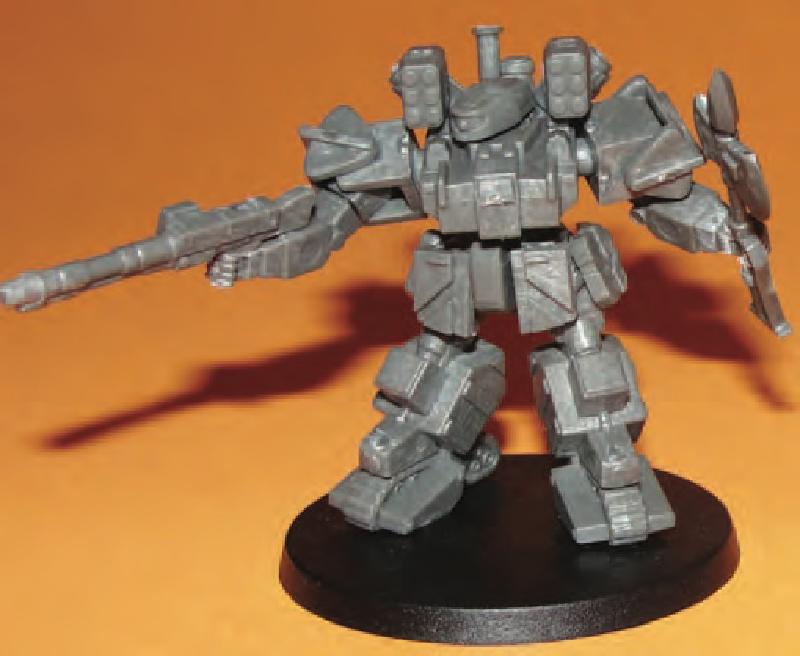
Warrior IV Mount Parts Sprue#

- Hip Side Armor Plates (x2)
- V-Engine
- Head Antennas
- Command Head
- Head
- Butt Plate
- Hips
- Torso
- LVB
- MRP
- Grenades
- LBZ (AP.1, Burst.1, Split.2)
- MFC
- LAC
- MAC
- Left Arm with Elbow Angle A
- Right Arm with Elbow Angle A
- Shoulders (x2)
- Right Arm with Elbow Angle B
- Left Arm with Elbow Angle B
- Small Box (can be used to fill in gaps around hips)
- Large Box (can be used to fill in gaps around hips)
- Hip Front/Right Armor Plate
- Hip Front/Left Armor Plate
- Right Leg
- Left Leg
- Ammo Clip (can be used to fill in gaps around hips)
- Right Running Leg
Individual sprues are available.
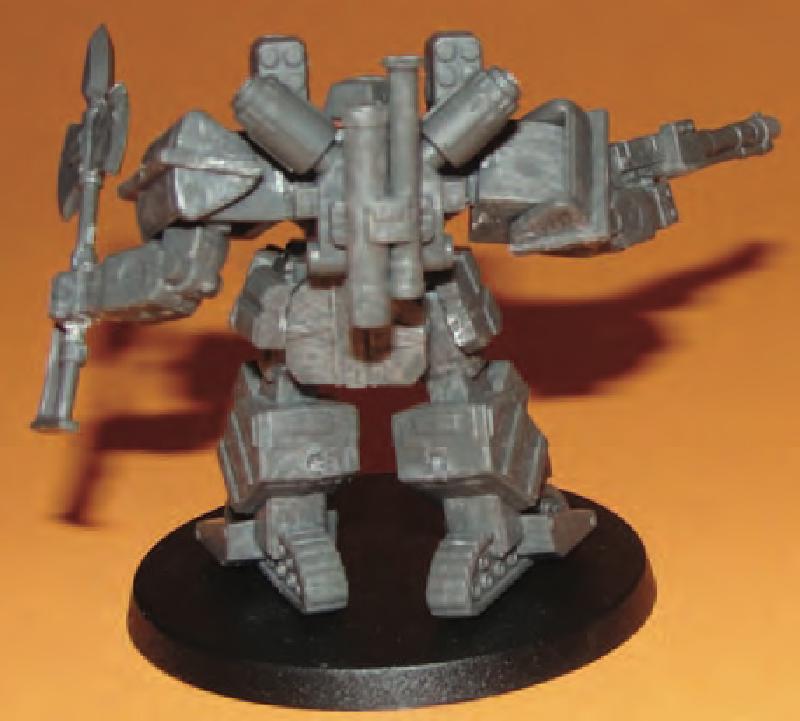
Crusader IV Mount Parts Sprue#

- MRP (x2)
- Hip Front/Right Armor Plate
- Hip Front/Left Armor Plate
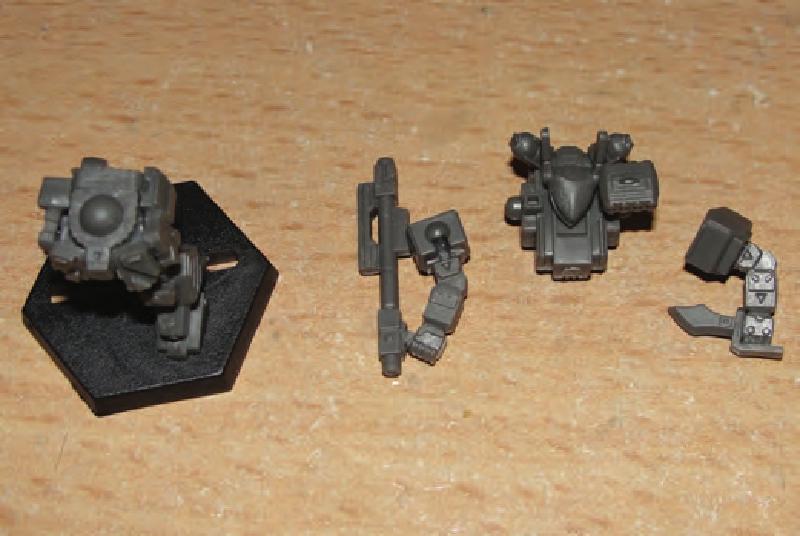
- Upper Arm Part (x2)
- Right Lower Arm with Elbow Angle A
- Left Lower Arm with Elbow Angle A
- Right Leg
- Left Leg
- Outer Shoulder Part (x2)
- Inner Shoulder Part (x2)
- Left Lower Arm with Elbow Angle B
- Right Lower Arm with Elbow Angle B
- MBV
- MSC
- LFM
- MBZ
- HAC
- Large Box (can be used to fill in gaps around hips)
- MFM
- Torso
- Hips
- Butt Plate
- Head
- Grenades
- Hip Side Armor Plates (x2)
- V-Engine
Individual sprues are available.
<a class="!rounded-md bg-primary-600 px-4 py-2 !text-neutral !no-underline hover:!bg-primary-500 dark:bg-primary-800 dark:hover:!bg-primary-700" href=“https.//store.dp9.com/index.php?route=product/product&product_id=1476”
role=“button”> Buy Crusader IV Plastic Sprue
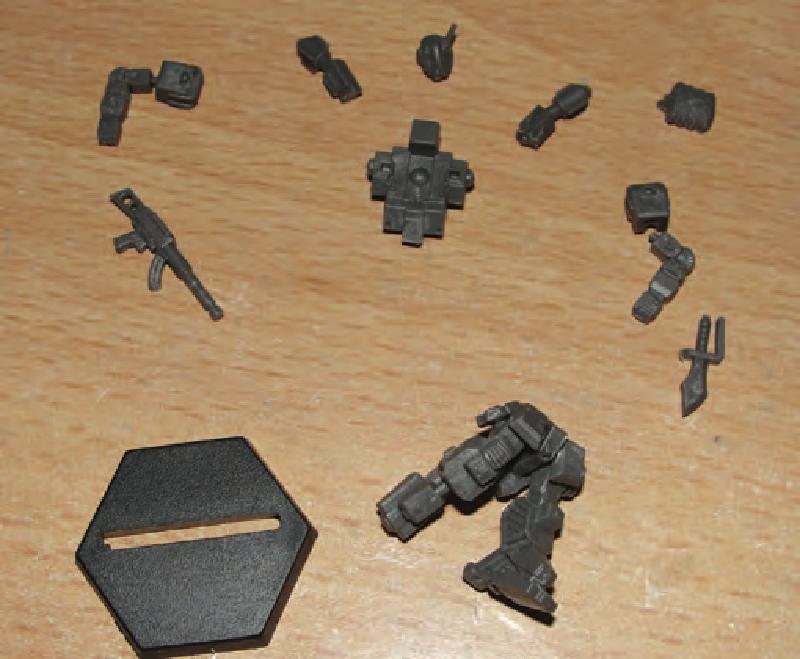
Skirmisher Mount Parts Sprue#

- LVB
- Right Lower Arm with TD and Elbow Angle A
- Right Lower Arm with TD and Elbow Angle B
- Hip Front/Right Armor Plate
- Hip Front/Left Armor Plate
- Right Lower Arm without TD and Elbow Angle C
- Left Lower Arm without TD and Elbow Angle C
- Shoulder Parts (x2)
- Butt Plate
- Hips
- Torso
- V-Engine Left Side
- V-Engine Right Side
- Hip Side Armor Plates (x2)
- Head
- Grenades
- Right Running Leg
- Right Leg
- SatUp Link
- Left Leg
- LBZ (AP.1, Burst.1, Split.2)
- LAC
- MFC
- MRF
- LRF
- LRP

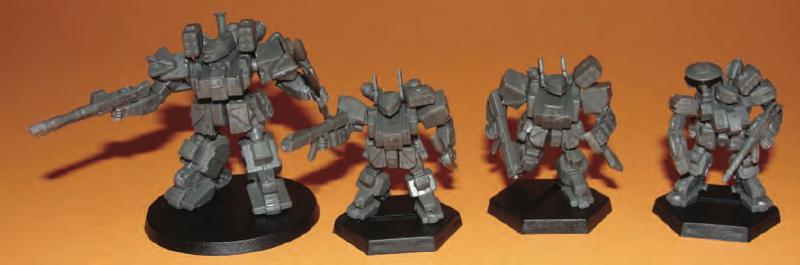
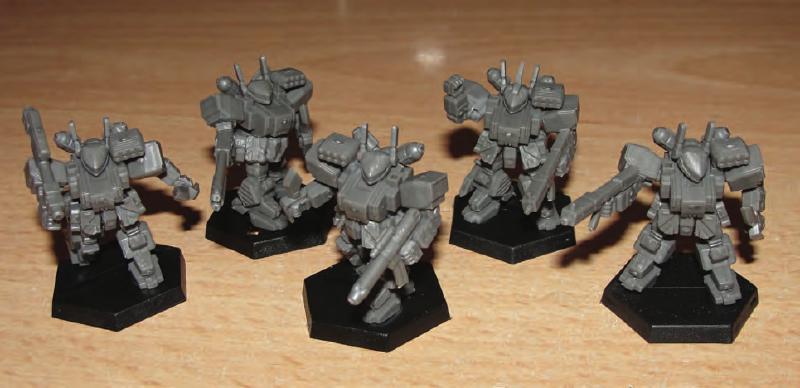
Peace River Assembly#
Peace River Individual Sprues#